- Remove the drive band, flyer, and bobbin. Don't lose the drive band!
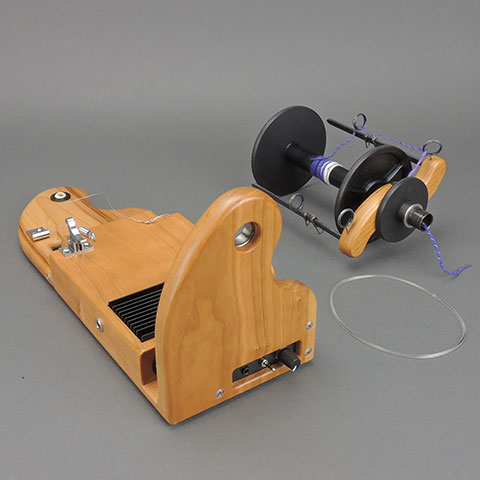
- Remove the 3 Phillips screws from the front of your miniSpinner.
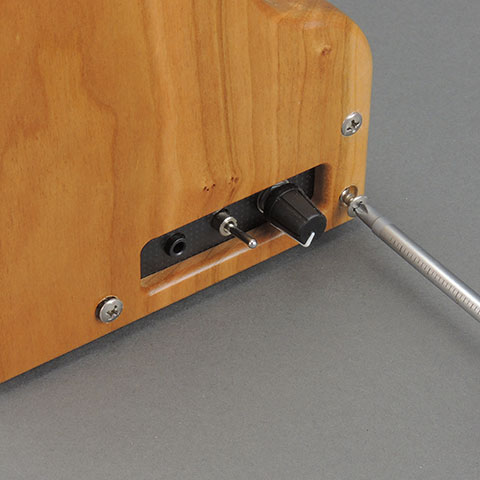
- The wood front face will come off, revealing the circuit board.
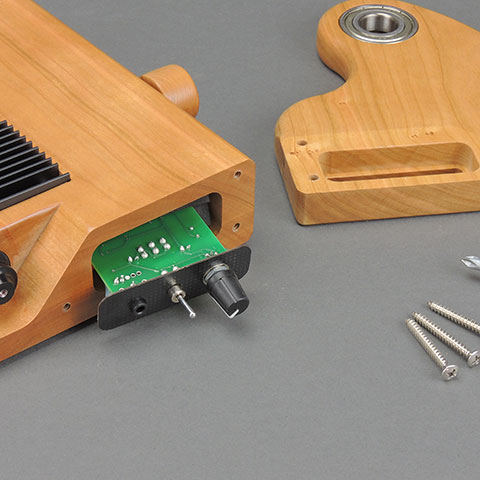
- Pull the circuit board out just far enough that you can get at the two connectors, then transfer the connectors one at a time (so you don't mix them up!) to the replacement speed controller board. Be sure to keep the red and black wires oriented in the direction shown!
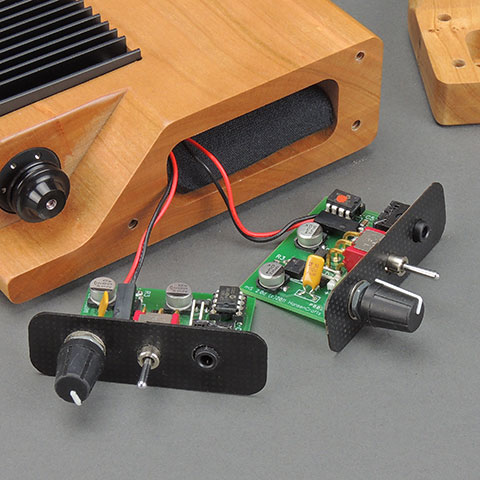
If you're replacing the original V1 controller with the new V2 controller, the connectors are a little different. Transfer Power to Power, and Motor to Motor. The red wire should connect to the + terminal.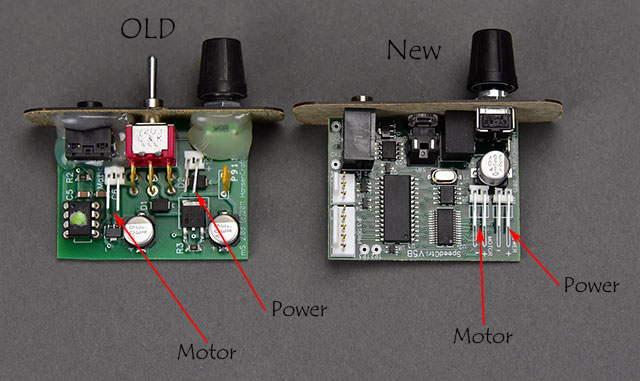
Also note: Very early miniSpinners (s/n 250 and earlier, dating back to early 2010) may need to have some wood removed for the new controller to fit. We will make these modifications for you at no charge, other than the cost of shipping your miniSpinner back to you.
- Replace the board in its pocket. Note that the board is installed “upside down” so that the knob will be on the right side after assembly. (See the picture for step 3.) Be sure the wires aren't pinched behind the board when you put it into its pocket! Note that we usually install a foam shim behind the circuit board to hold it snugly in place.
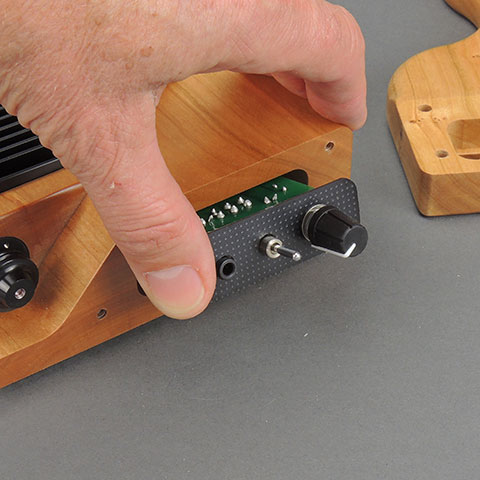
- Put the front of your miniSpinner® in place, and wiggle the knob of the speed controller while pulling it towards the face to align it properly.
Check the gap where the base and the face piece will come together. It should be no more than 0.020 inch (the thickness of 2 recipe cards). Be sure the wires aren't stuck between the face and the base piece! If the gap is more than 0.020 inch (0.5mm), the board assembly is too long and you need to remove a little material from the rear of the speed controller board (this is uncommon). Use sandpaper or a belt sander. If the gap is too large and you use excessive force to screw the face tightly to the base, you may damage the speed controller.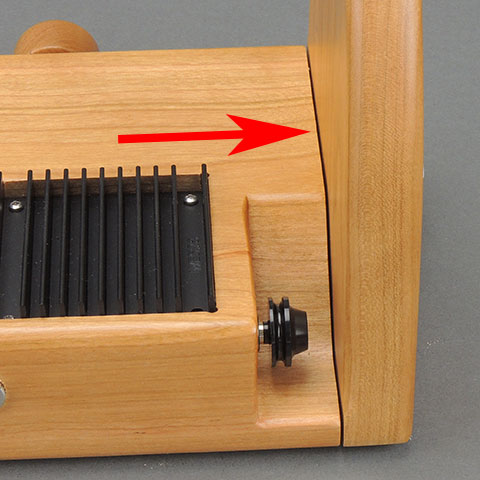
- Snug up the 3 screws holding the front to the base of your miniSpinner®, again, being sure not to damage the controller board per the previous step. Reinstall the flyer and bobbin (don't forget the drive band), and you're ready to go.
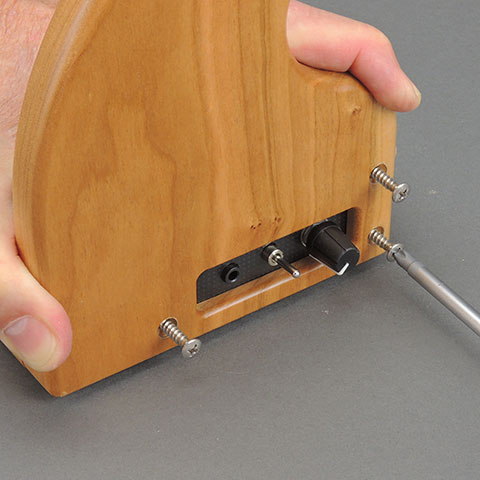
- If the board is short, it'll be loose in its pocket. This can be fixed by putting a little piece of foam tape in the bottom of the circuit board pocket to shim the board towards the front. Don't use too much; see step 6 above.
Possible problems/solutions:
Motor runs full speed, red light blinks as soon as power is connected: For the V2 controller, you have reversed the power and motor connectors. No harm done, just correct your connections and it should work fine next time you power up.
Nothing happens: (a)You have connected the power to the wrong connector or backwards. Be sure the red wire is next to the “+” mark on the circuit board. You won't damage anything if you get it backwards. (b)You have reversed the power and motor connectors. Again, no harm will be done. Switch the connectors and it should work.
Motor runs backwards: The motor connector is oriented incorrectly. Remove it, flip it over, and reinstall it. Note: The motor connector should be oriented the same as the power connector – the red wires should be on the same side.
